
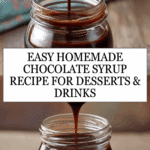
Homemade Chocolate Syrup Recipe
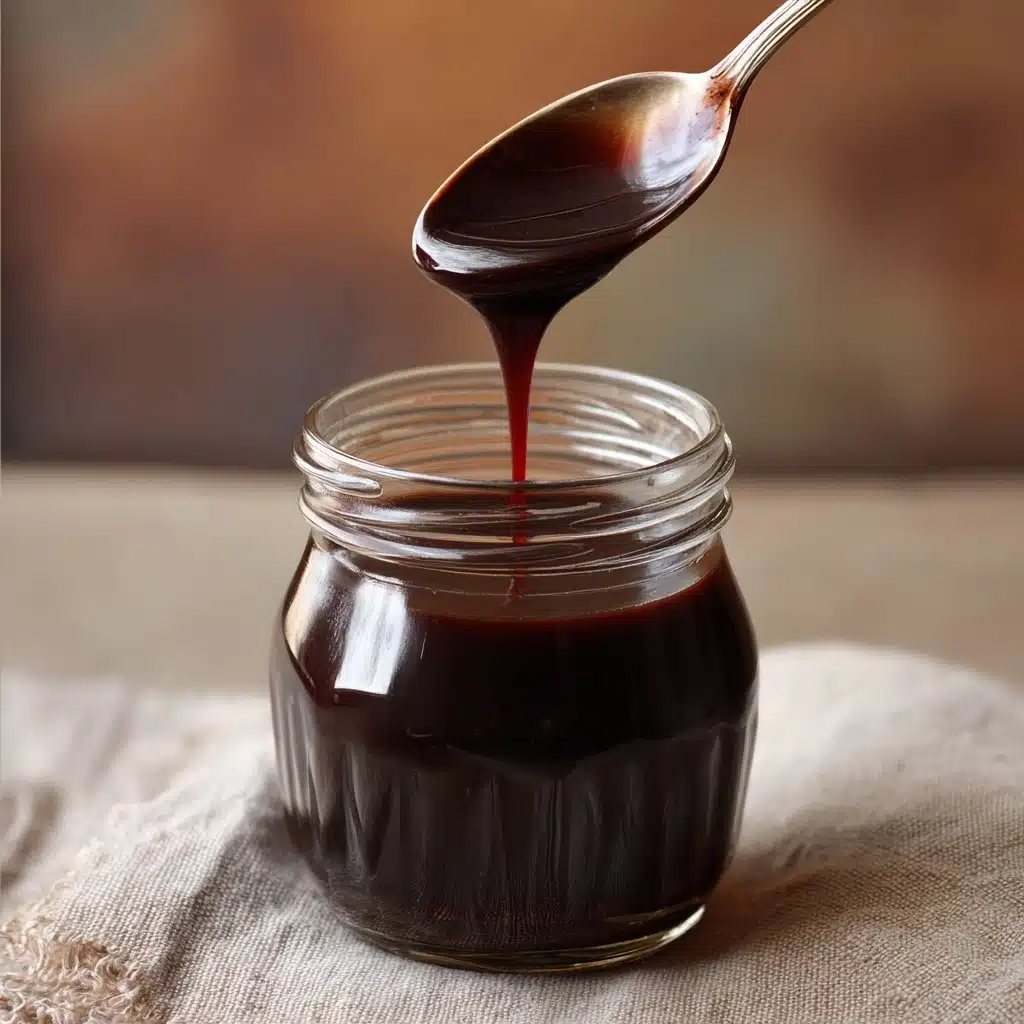
If you have a sweet tooth and love to drizzle a rich, velvety topping over your desserts or drinks, Homemade Chocolate Syrup is a total game-changer. It’s incredibly simple to make but bursting with deep chocolate flavor, perfect for elevating everything from ice cream sundaes to warm milk or coffee. By making this syrup yourself, you’re not only avoiding the artificial stuff found in the store, but you also get to control the sweetness and thickness exactly how you like. Trust me, once you taste this luscious DIY syrup, you’ll wonder how you ever lived without it!

Ingredients You’ll Need
Crafting the perfect Homemade Chocolate Syrup is all about a handful of humble but powerful ingredients. Each one plays a crucial role in bringing that irresistible chocolate magic to life—the sugar sweetens just right, cocoa powder brings the intense taste and color, and vanilla adds that subtle warmth.
- Granulated sugar: This is the backbone of sweetness that balances the cocoa’s bitterness perfectly.
- Unsweetened cocoa powder: The star ingredient, delivering that rich, chocolaty flavor and dark color.
- Water: Helps dissolve the dry ingredients and creates the right syrupy consistency.
- Light corn syrup: Adds gloss and prevents crystallization, keeping the syrup silky smooth.
- Vanilla extract: Introduces a lovely aromatic warmth that rounds out the chocolate notes beautifully.
- Pinch of salt: Enhances all the flavors, making the chocolate taste even more vibrant.
How to Make Homemade Chocolate Syrup
Step 1: Combine the Dry Ingredients
Start by whisking together the granulated sugar and cocoa powder in a medium saucepan. Getting rid of lumps right away ensures your syrup will have that luxuriously smooth texture we all crave, so take a moment to mix them well before moving forward.
Step 2: Add Liquids and Mix
Next, pour in the water and light corn syrup, then whisk everything together until fully combined. This blend of liquids will dissolve the dry ingredients and start creating that beautiful glossy base for your syrup. It’s the perfect assembly to get the chocolate flavor infused evenly.
Step 3: Simmer Over Medium Heat
Place the saucepan on medium heat and bring the mixture to a gentle simmer. Remember to whisk continuously—that continuous stirring keeps the syrup from sticking or burning, which is key to a smooth final product.
Step 4: Reduce Heat and Thicken
Once simmering, lower the heat to a gentle low and let it cook for about five to seven minutes. This slow bubbling thickens the syrup nicely to your preference, so watch it closely and stir often to make sure it doesn’t overcook or scorch.
Step 5: Finish with Vanilla and Salt
Remove the pan from heat and immediately stir in vanilla extract and a pinch of salt. This finishing touch brightens the syrup’s flavors, giving it that perfect rounded richness that feels homemade in every bite and drizzle.
Step 6: Cool and Store
Let your Homemade Chocolate Syrup cool a little before transferring it to a clean, airtight container. Keeping it in the fridge will maintain its freshness and delicious texture for up to two weeks—ready whenever you want an indulgent chocolate boost.
How to Serve Homemade Chocolate Syrup
Garnishes
To elevate desserts, drizzle your Homemade Chocolate Syrup over vanilla ice cream, fresh berries, or even whipped cream. It transforms ordinary scoops or slices into decadent treats, and a sprinkle of chopped nuts or a dusting of cocoa powder adds a beautiful finishing touch.
Side Dishes
This syrup isn’t just for sweets—it’s a fantastic companion to pancakes, waffles, or French toast. Pour it generously to add a rich chocolate twist that will make your breakfast feel like a special occasion any day of the week.
Creative Ways to Present
Try swirling Homemade Chocolate Syrup into a glass of cold milk or coffee for a quick mocha delight. It’s also fabulous for cupcakes or drizzling over cheesecake. If you want to impress, pipe it in elegant patterns on dessert plates or use it as a dip for fresh fruit sticks.
Make Ahead and Storage
Storing Leftovers
Store any leftover Homemade Chocolate Syrup in an airtight container in the refrigerator. It will keep fresh and delicious for up to two weeks, making it easy to enjoy homemade chocolate goodness anytime without redoing the whole batch.
Freezing
While it’s possible to freeze the syrup, it’s usually best stored in the fridge since freezing can alter its smooth texture. If you do freeze it, thaw slowly in the fridge and stir well before use to blend any separated ingredients back together.
Reheating
If your syrup thickens too much after chilling, simply warm it gently in a saucepan or microwave, adding a splash of water as needed to bring back that silky, pourable consistency. This makes it as easy as pressing a button to get it ready for your next craving.
FAQs
Can I use a different type of sugar for Homemade Chocolate Syrup?
Absolutely! While granulated sugar is traditional and works wonderfully, you can experiment with brown sugar or coconut sugar for subtle flavor variations. Just note that these may affect the syrup’s color and sweetness.
Is it possible to make this syrup vegan?
Yes! This recipe is naturally vegan since it doesn’t include any animal products. Just ensure your vanilla extract is vegan-friendly and you’re good to go.
How long does Homemade Chocolate Syrup last?
When stored properly in the refrigerator, the syrup stays fresh for about two weeks. Always check for any off smells or mold before use, although it tends to last well thanks to the sugar and corn syrup acting as preservatives.
Can I make this syrup thicker or thinner?
Definitely. Cook it longer at low heat to thicken, or add a bit more water if it’s too thick. Adjusting the consistency is easy and lets you tailor the syrup to your exact preference.
What are some other uses for Homemade Chocolate Syrup?
Besides topping desserts and drinks, it’s fantastic as an ingredient in homemade milkshakes, frosting mixes, or even drizzled over fruit salads. It’s a versatile treat you can get very creative with.
Final Thoughts
Making your own Homemade Chocolate Syrup is one of those kitchen wins that feels like a secret superpower. It’s fast, uses everyday ingredients, and instantly upgrades your favorite treats with authentic chocolate flavor and wow-factor. So, don’t hesitate—grab your saucepan and whisk, and whip up a batch today. Your taste buds will thank you!
Print
Homemade Chocolate Syrup Recipe
- Total Time: 15 minutes
- Yield: About 1 cup (8 ounces) of chocolate syrup 1x
- Diet: Vegetarian
Description
This homemade chocolate syrup recipe is a rich, smooth, and versatile topping perfect for drizzling over ice cream, pancakes, or mixing into milk for a delicious chocolate drink. Made with simple pantry ingredients, it offers a customizable sweetness and thickness, allowing you to enjoy a fresh, preservative-free chocolate syrup anytime.
Ingredients
Dry Ingredients
- 1 cup granulated sugar
- 1/2 cup unsweetened cocoa powder
Wet Ingredients
- 1/2 cup water
- 1/4 cup light corn syrup
- 1 teaspoon vanilla extract
Additional
- a pinch salt
Instructions
- Combine dry ingredients: In a medium saucepan, whisk together the granulated sugar and unsweetened cocoa powder to remove any lumps and ensure a smooth syrup base.
- Add liquids: Pour the water and light corn syrup into the saucepan with the dry mix, whisking well until fully combined and smooth.
- Heat to simmer: Place the saucepan over medium heat and gradually bring the mixture to a gentle simmer, stirring continuously to avoid burning and ensure even heating.
- Simmer to thicken: Once simmering, reduce the heat to low and let it cook uncovered for 5-7 minutes, depending on how thick you want your syrup to be. Stir occasionally.
- Add flavor and salt: Remove the saucepan from heat and stir in the vanilla extract and a pinch of salt to enhance the chocolate flavor and balance the sweetness.
- Cool and store: Allow the syrup to cool for a few minutes, then transfer it to an airtight container. Store it in the refrigerator for up to 2 weeks.
- Reheat if needed: If the syrup thickens too much after chilling, warm it gently and add a little water to restore a pourable consistency.
- Adjust sweetness: You can modify the sugar amount when making the syrup to suit your taste preferences—more sugar for extra sweetness or less for a less sweet syrup.
Notes
- Use light corn syrup to prevent crystallization and achieve a smooth texture.
- Store the syrup in an airtight container in the refrigerator to maintain freshness.
- The syrup will thicken as it cools; reheat gently and stir in water to thin if needed.
- Vanilla extract enhances the chocolate flavor but is optional if unavailable.
- Adjust cooking time to control syrup thickness; longer cooking yields a thicker syrup.
- Can be used as a topping for ice cream, pancakes, waffles, or mixed in milk for chocolate milk.
- Prep Time: 5 minutes
- Cook Time: 10 minutes
- Category: Sauce/Topping
- Method: Simmering
- Cuisine: American
Nutrition
- Serving Size: 2 tablespoons (30 ml)
- Calories: 110
- Sugar: 24g
- Sodium: 10mg
- Fat: 0.5g
- Saturated Fat: 0.1g
- Unsaturated Fat: 0.3g
- Trans Fat: 0g
- Carbohydrates: 28g
- Fiber: 2g
- Protein: 1g
- Cholesterol: 0mg
Keywords: homemade chocolate syrup, chocolate sauce, chocolate topping, easy chocolate syrup, DIY chocolate syrup

