
Homemade Milk Kefir Recipe
Introduction
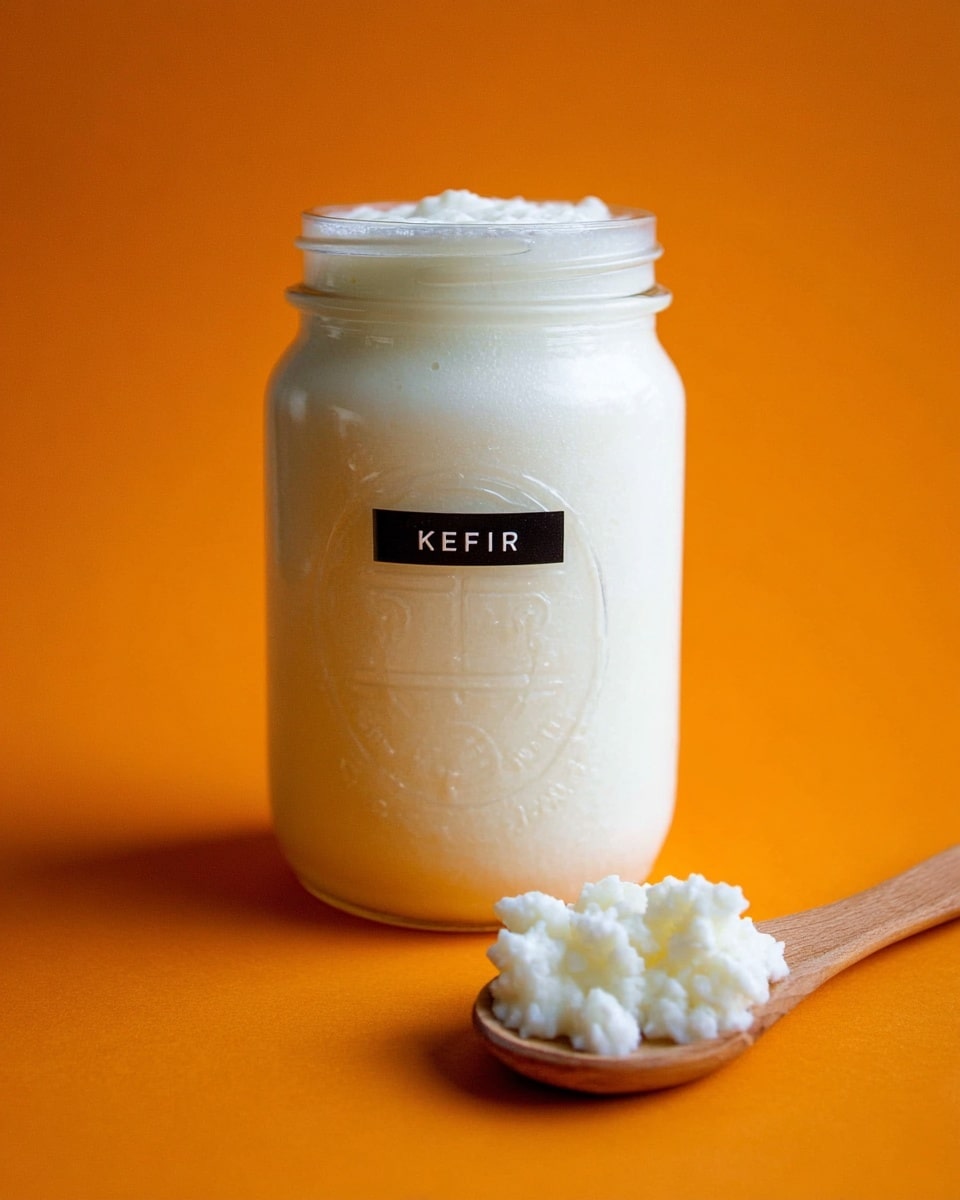
Homemade milk kefir is a simple and rewarding fermented drink full of probiotics that support digestion and overall health. With just a few basic ingredients and a little patience, you can enjoy fresh kefir anytime at home.
Ingredients
- 1 tablespoon live kefir grains
- 4 cups whole milk
Instructions
- Step 1: Thoroughly clean a large glass jug with at least 5-cup capacity, a non-metal slotted spoon, a storage jar for the finished kefir, a wide non-metal bowl, and a fine mesh non-metal colander using regular soap. Avoid antimicrobial soaps to protect the kefir grains.
- Step 2: Add 1 tablespoon of live kefir grains and 4 cups of whole milk to the clean glass jug. Cover the jug with several layers of paper towels or a few paper coffee filters, then secure with a rubber band to keep out dust and insects.
- Step 3: Place the jug in a warm, dark spot at 65–85°F (18–29°C) and let it ferment for about 24 hours. The kefir is ready when it slightly thickens and develops a fermented smell. If the kefir separates into yellowish whey, don’t worry—it just means you can shorten the fermentation next time or add more milk.
- Step 4: Position a wide non-metal bowl under a fine mesh non-metal colander. Pour the finished kefir into the colander and gently stir with a plastic or wooden spoon to strain the liquid. The kefir grains will remain in the colander.
- Step 5: Clean the fermentation jar, then return the kefir grains to it. Add 4 cups of fresh milk to start your next batch.
- Step 6: Transfer the strained kefir collected in the bowl into a sealable jar and store it in the refrigerator.
Tips & Variations
- Use whole milk for a creamier kefir; you can also experiment with raw or pasteurized milk based on preference and availability.
- If your kefir is too sour, shorten the fermentation time or use cooler temperatures.
- For a flavored kefir, add fresh fruit, honey, or vanilla after fermentation is complete.
- Never use metal utensils or containers during fermentation as they can harm the kefir grains.
Storage
Store homemade kefir in a sealed jar in the refrigerator for up to 2 weeks. Keep it chilled to maintain freshness and slow fermentation. Before drinking, give it a gentle stir or shake if it has separated.
How to Serve
Serve this delicious recipe with your favorite sides.
FAQs
Can I use milk other than whole milk?
Yes, you can use skim, low-fat, or even non-dairy milks, but whole milk generally produces the best texture and flavor. Non-dairy milks may require additional steps and may not maintain the grains as well.
What should I do if the kefir grains start to smell bad or look discolored?
If your grains develop an off smell or unusual color, they may be contaminated. It’s best to discard them and start fresh, ensuring all equipment is properly cleaned but not sanitized with antimicrobial products.
Print
Homemade Milk Kefir Recipe
- Total Time: 24 hours 10 minutes
- Yield: Approximately 4 cups of homemade kefir 1x
- Diet: Vegetarian
Description
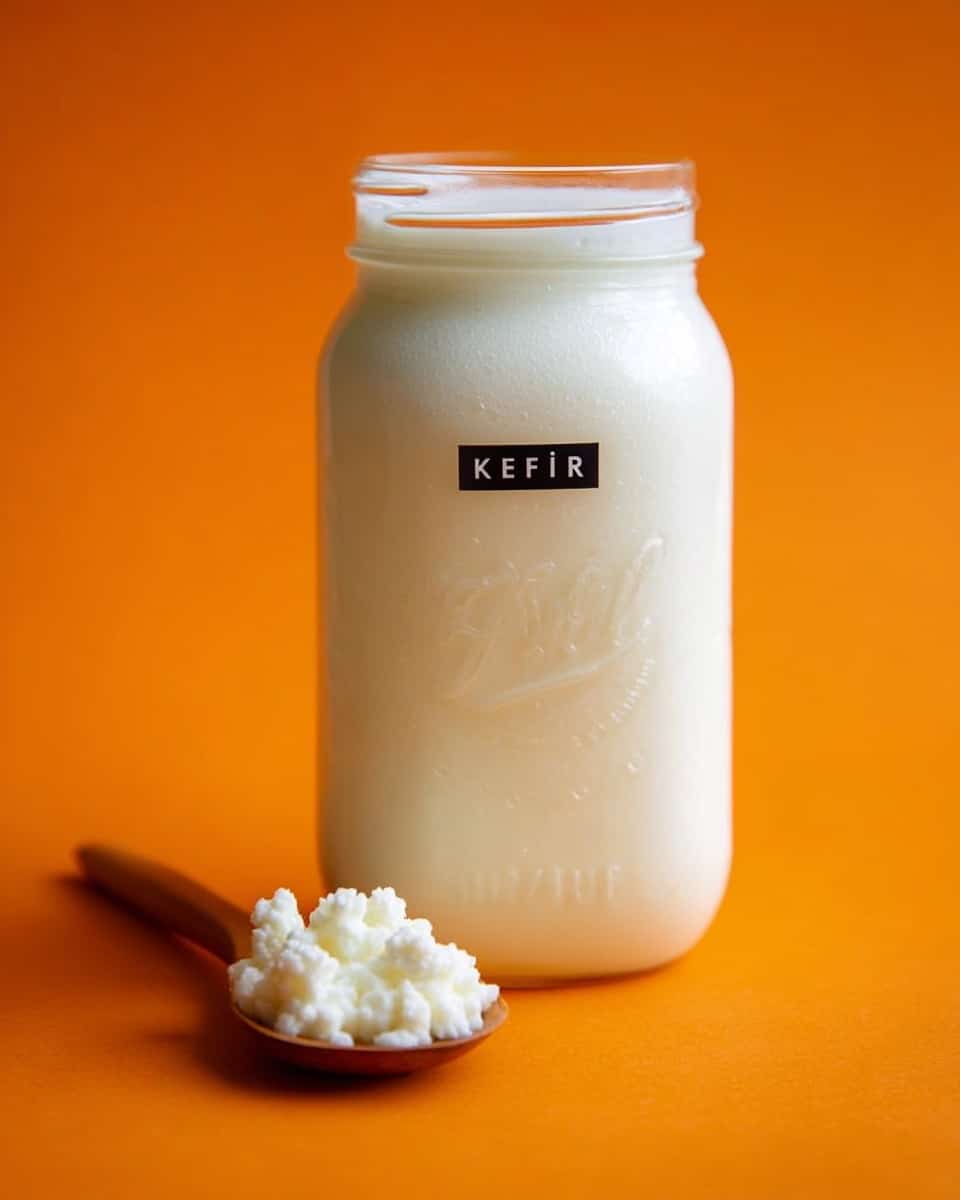
This homemade milk kefir recipe guides you through the simple fermentation process using live kefir grains and whole milk, resulting in a probiotic-rich, creamy fermented drink perfect for gut health. With minimal equipment and a natural fermentation technique, you can create fresh kefir at home to store and enjoy chilled over two weeks.
Ingredients
Ingredients
- 1 tablespoon live kefir grains
- 4 cups whole milk
Instructions
- Prepare Equipment: Clean a large glass jug with at least 5 cup capacity, a non-metal slotted spoon, a jar for storing finished kefir, a wide non-metal bowl, and a fine mesh non-metal colander thoroughly with regular soap. Avoid antimicrobial soaps to protect the cultures.
- Add Ingredients: Place 1 tablespoon of live kefir grains into the large glass jug, then pour in 4 cups of whole milk. Cover the jug with a few layers of paper towels or paper coffee filters and secure with a rubber band to keep out dust and insects while allowing air circulation.
- Ferment: Set the covered jug in a warm, dark spot between 65-85°F (18-29°C) for about 24 hours. The kefir is ready when it thickens slightly and develops a fermented aroma. If separation into yellowish whey occurs, reduce fermentation time or increase milk volume next batch.
- Strain Kefir: Place a wide non-metal bowl under a fine mesh non-metal colander. Pour the fermented kefir into the colander and gently stir with a plastic or wooden spoon to pass kefir through. The grains remain on top for reuse.
- Reuse Grains: Rinse the glass jug used for fermentation, return the kefir grains to it, add 4 cups of milk to start a new batch, and repeat the process.
- Store Finished Kefir: Transfer the strained kefir collected in the bowl to a sealable jar and refrigerate. It can be kept fresh for around 2 weeks.
Notes
- Use non-metal utensils and containers during fermentation to avoid damaging the kefir grains.
- Maintain a consistent fermentation temperature between 65-85°F (18-29°C) for best results.
- If kefir separates too much or tastes too sour, shorten the fermentation time.
- Kefir grains can last indefinitely with proper care and repeated feeding.
- You can use different types of milk such as cow, goat, or sheep milk, but whole milk provides the creamiest texture.
- Consume or refrigerate kefir promptly after fermentation to stop further souring.
- Prep Time: 10 minutes
- Cook Time: 24 hours
- Category: Beverage
- Method: No-Cook
- Cuisine: International
Keywords: milk kefir, homemade kefir, fermented milk, probiotic drink, kefir grains, gut health, fermented beverage


