
Let-it-glow Christmas Cake Recipe
Introduction
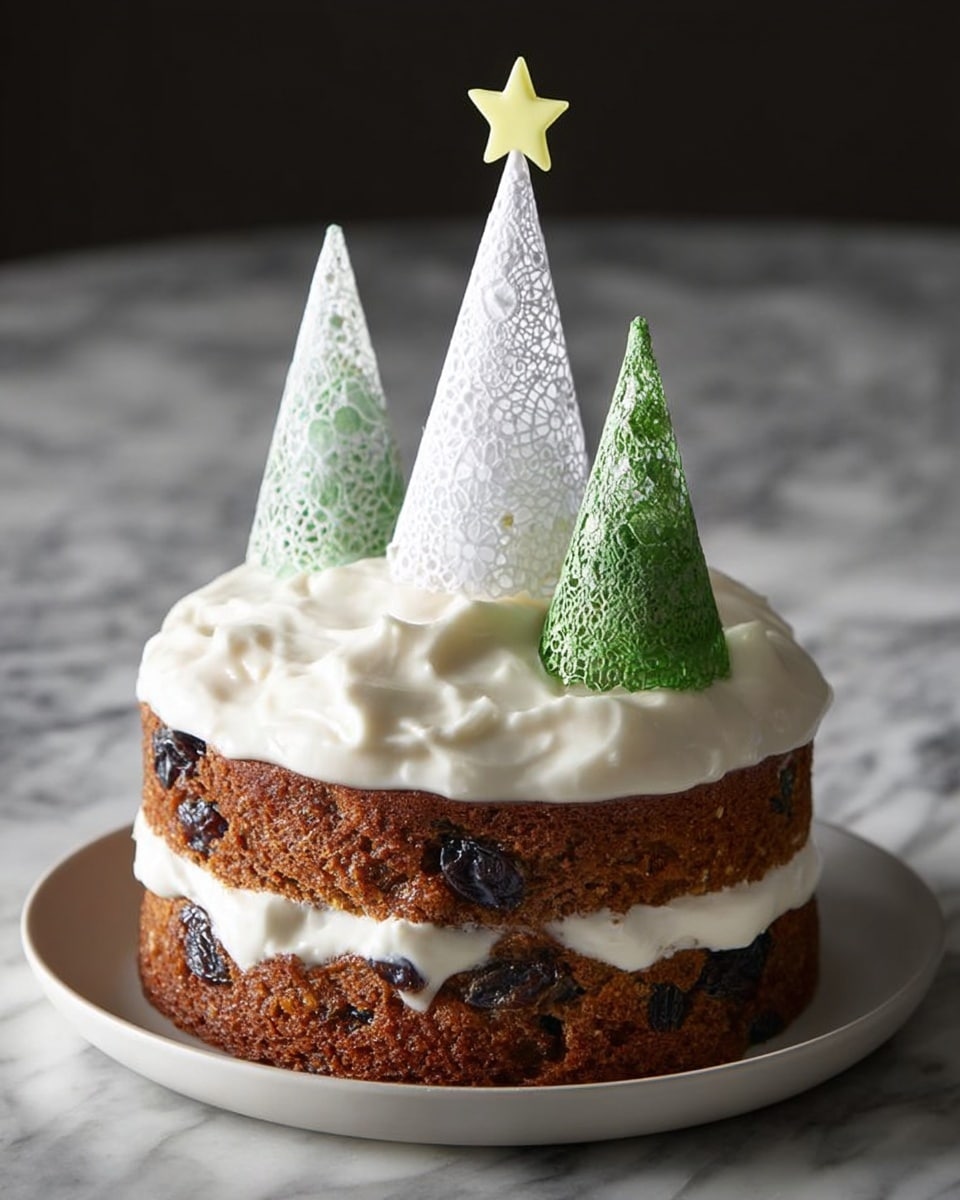
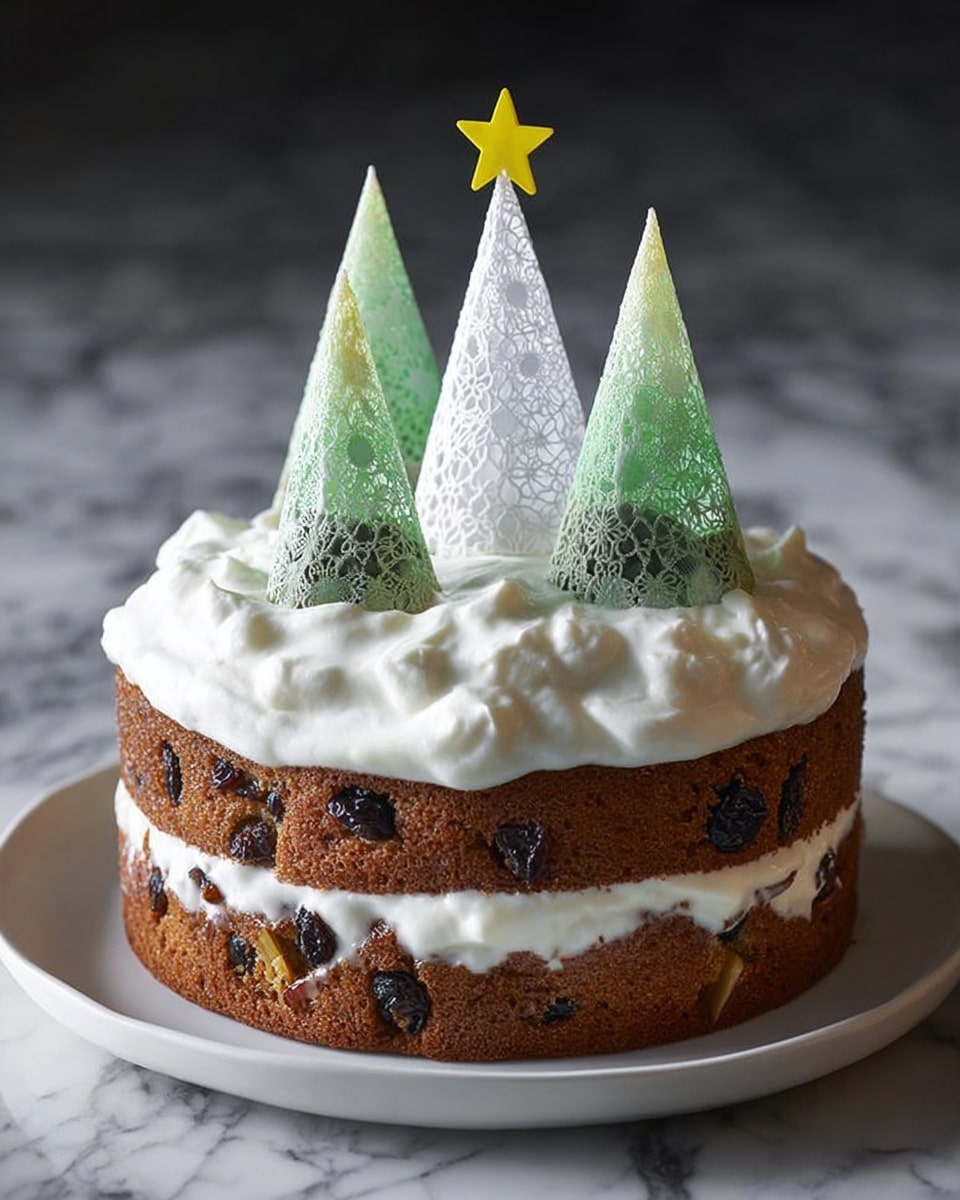
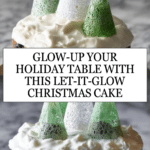
This Let-it-glow Christmas cake is a festive showstopper that combines a traditional fruitcake base with a glowing, decorative icing finish. The delicate orange-flavored royal icing and charming doily trees create a magical centerpiece perfect for holiday gatherings.
Ingredients
- 1 x 22cm round Suits-all Christmas cake (see Goes well with for the recipe)
- 140g apricot jam
- Zest of 1 orange
- 3 large egg whites
- 2 tsp orange juice
- 1 tsp orange blossom water
- 1 tbsp liquid glucose (available in tubes in the baking aisle of large supermarkets)
- 750g icing sugar
- A few doilies in different sizes and colours (optional)
- Small piece of gold card or foil from chocolate
Instructions
- Step 1: Using a sharp, serrated knife, carefully slice the fruitcake in half horizontally to create a top and bottom layer.
- Step 2: In a small bowl, mix the apricot jam with the orange zest. Spread this mixture evenly over the cut surface of the bottom half of the cake.
- Step 3: To make the icing, beat the egg whites with the orange juice, orange blossom water, and liquid glucose in a large mixing bowl using an electric whisk.
- Step 4: Gradually sift in the icing sugar while continuing to beat until the icing is fairly stiff and can hold a peak.
- Step 5: Spread a thin layer of the icing over the apricot jam on the bottom cake layer. Place the top half of the cake back on.
- Step 6: Generously swirl the remaining icing thickly over the top of the cake.
- Step 7: Prepare the doily trees by snipping each doily from an edge to the centre with scissors, then roll up each doily into a cone shape and secure with sticky tape.
- Step 8: Cut a star shape out of gold card or foil and stick it to the tip of one of the doily trees.
- Step 9: Arrange the doily cones on top of the iced cake to create a winter scene, adding the star-topped tree among them.
Tips & Variations
- Use LED tealights to add a warm, festive glow by placing them under the doily trees. Make sure the base of each cone is wide enough to hide the light completely and trim the layers if needed to let more light shine through.
- Push the tealights gently into the icing to create flat spots for them, then remove and allow the icing to harden before decorating to avoid dents.
- Try adding a splash of brandy or orange liqueur to the icing for extra festive flavor.
Storage
Store the Christmas cake in an airtight container at room temperature for up to two weeks. If you use tealights, remove them before storing. The icing will harden but can soften slightly when exposed to warm conditions. To refresh the cake, bring it to room temperature before serving.
How to Serve
Serve this delicious recipe with your favorite sides.
FAQs
Can I use a different type of cake for this recipe?
Yes, while a traditional fruitcake is recommended for its dense texture and flavor, you can use any sturdy cake that can support the layering and icing.
What if I don’t have liquid glucose?
If liquid glucose is unavailable, you can substitute with light corn syrup in the same quantity to help achieve the right icing consistency.
Print
Let-it-glow Christmas Cake Recipe
- Total Time: 30 minutes
- Yield: Serves 10–12 1x
- Diet: Vegetarian
Description
Create a festive and visually striking Let-it-Glow Christmas Cake featuring a moist fruitcake base layered with zesty apricot jam and topped with a bright orange-flavored royal icing. Decorated with delicate doily cones shaped like trees and a gold star, this cake can be illuminated with LED tealights for a magical holiday centerpiece.
Ingredients
For the Cake Base
- 1 x 22cm round Suits-all Christmas cake (prepared separately)
For the Apricot Jam Layer
- 140g apricot jam
- Zest of 1 orange
For the Icing
- 3 large egg whites
- 2 tsp orange juice
- 1 tsp orange blossom water
- 1 tbsp liquid glucose
- 750g icing sugar, sifted
For Decoration
- A few doilies in different sizes and colours
- Small piece of gold card or foil from chocolate (for star decoration)
- Sticky tape (to secure doily cones)
- LED tealights (optional, for illuminating the cake)
Instructions
- Slice the Cake: Using a sharp, serrated knife, carefully slice your Christmas fruitcake in half horizontally to create a top and bottom layer.
- Prepare Apricot Jam Spread: In a small bowl, mix the apricot jam with the grated zest of one orange until well combined. Spread this mixture evenly over the surface of the bottom half of the cake.
- Make the Icing: In a large mixing bowl, beat the egg whites together with the orange juice, orange blossom water, and liquid glucose using an electric whisk. Gradually sift in the icing sugar while continuing to beat until stiff peaks form and the icing can hold its shape firmly.
- Assemble the Cake: Spread a thin layer of the prepared icing over the apricot jam on the bottom cake layer. Carefully place the top half of the cake back on, then generously swirl and spread the remaining royal icing thickly over the top, creating texture and height.
- Create Doily Trees: Using scissors, cut a slit from the edge to the center of each doily, then roll each doily into a cone shape and secure with sticky tape at the seam.
- Decorate the Cake: Arrange the doily cones upright on top of the iced cake to resemble a winter scene of trees. Cut a star from the gold card or gold-covered plain card, and stick it atop one of the doily trees for a festive finishing touch.
- Optional Lighting: For a glowing effect, use LED tealights placed underneath the doily cones. Make sure the base of each cone is wide enough to cover the lights completely and trim doilies if needed to allow light to shine through. Press the LEDs gently into the icing to create flat spots for stable placement. Remove the lights while the icing hardens to avoid damage.
Notes
- The Suits-all Christmas cake base needs to be baked separately before assembling this decorated cake.
- Use LED tealights only as a safe, flameless lighting option to illuminate the cake.
- Make sure the royal icing is stiff enough to hold its shape for the decoration and light placement.
- Adjust the size of doily cones if you want more or less light to shine through for the glowing effect.
- Prepare the cake in advance to allow time for the icing to harden before adding light decorations.
- Prep Time: 30 minutes
- Cook Time: 0 minutes (assembly only, cake pre-baked)
- Category: Dessert, Holiday Cake
- Method: No-Cook
- Cuisine: British
Keywords: Christmas cake, festive cake, royal icing, apricot jam, holiday dessert, doily decoration, glowing cake, orange zest cake, celebration cake
