
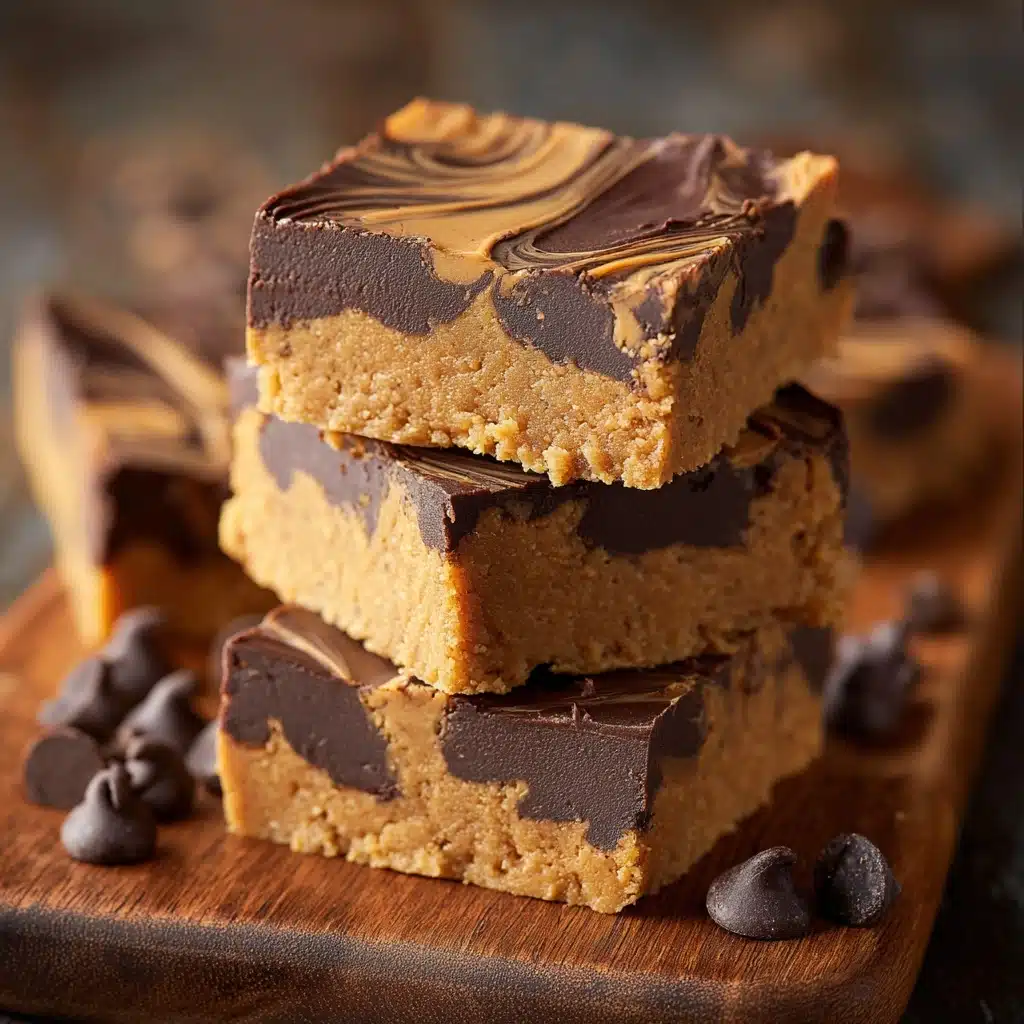
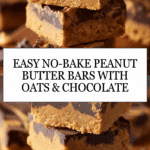
Peanut Butter Bars Recipe
If you’re craving a snack that feels like a warm hug in bar form, these Peanut Butter Bars are exactly what you need. They combine creamy peanut butter with just the right touch of honey sweetness and hearty oats, creating a satisfyingly chewy, subtly crunchy treat. Whether it’s a quick breakfast on the go, a post-workout boost, or simply a delightful pick-me-up, these bars are straightforward to make and packed with flavor—not to mention, they’re perfect for everyone in the family. Get ready to fall in love with a snack that’s as wholesome as it is delicious.

Ingredients You’ll Need
Getting the ingredients right is honestly half the joy with these Peanut Butter Bars. Each element plays a starring role, whether it’s the rich, nutty peanut butter, the natural sweetness of honey, or the comforting bite of rolled oats. These ingredients are simple but essential, coming together to create the perfect balance of taste, texture, and color in every bar.
- 1 cup peanut butter: Use creamy for smooth bars or chunky if you like a little texture.
- 1/2 cup honey: Adds natural sweetness and helps bind the bars; feel free to adjust amount for your preferred sweetness.
- 1 1/2 cups rolled oats: The chewy backbone of the bars; you can swap some for crispy rice cereal if you want extra crunch.
- 1/2 cup chocolate chips: Brings a melty richness that perfectly complements the peanut butter.
- 1/4 cup chopped nuts (optional): Adds extra crunch and makes the bars even more nourishing.
- 1/4 teaspoon salt: Enhances all the flavors, balancing the sweetness wonderfully.
How to Make Peanut Butter Bars
Step 1: Mix the Peanut Butter and Honey
Start by combining the peanut butter and honey in a large mixing bowl. Stir these two together until smooth and well blended—this not only ensures the bars will hold together nicely but also infuses every bite with that perfect sweet and nutty combo you’re after.
Step 2: Incorporate the Oats, Chocolate, Nuts, and Salt
Next, toss in the rolled oats, chocolate chips, chopped nuts if you’re using them, and a pinch of salt. Stir everything thoroughly so that each oat and chip is coated with that luscious peanut butter-honey mixture. This step builds the texture and flavor, giving those bars their signature chew and bursts of chocolatey goodness.
Step 3: Prepare Your Pan
Line a 9×9 inch baking pan with parchment paper to make removing the bars a breeze later on. This little tip saves you from any sticky situations when it’s time to cut the bars into neat squares.
Step 4: Press the Mixture Firmly Into the Pan
Transfer your mixture into the lined pan and press it down firmly using a spatula or the back of a spoon. Smoothing the top helps the bars set evenly and gives you those clean, professional-looking edges that make these bars so inviting.
Step 5: Chill to Set
Pop the pan into the refrigerator for about an hour. This chilling step is crucial because it allows your Peanut Butter Bars to firm up and hold their shape when cut.
Step 6: Cut Into Bars and Enjoy
Once chilled, lift the set mixture out using the parchment paper edges. Slice into 12 equal squares and get ready to enjoy the fruits of your simple, satisfying labor!
How to Serve Peanut Butter Bars
Garnishes
While these bars shine on their own, a sprinkle of sea salt flakes or a drizzle of melted dark chocolate just before serving can take them to a whole new level of indulgence. If you’re feeling festive, a dusting of powdered sugar or some chopped roasted peanuts adds visual appeal and a little extra textural pop.
Side Dishes
These bars are already pretty complete, but if you want to turn them into a mini dessert platter, pair them with fresh fruit like sliced bananas or strawberries. A small serving of Greek yogurt or a glass of cold milk also complements the richness perfectly, making it a balanced and satisfying snack or dessert experience.
Creative Ways to Present
Consider stacking the bars in a rustic wooden box lined with parchment for a charming homemade gift. Alternatively, wrap each bar individually in wax paper tied with a twine bow – perfect for lunchboxes or party favors. For a fun twist at your next gathering, serve them alongside mini skewers of fruit or marshmallows for DIY flavor combos.
Make Ahead and Storage
Storing Leftovers
Keep any leftover Peanut Butter Bars fresh and chewy by storing them in an airtight container in the refrigerator. They’ll stay delicious for up to a week, making them a convenient grab-and-go snack whenever you need a little pick-me-up.
Freezing
If you want to stash some away for longer, these bars freeze beautifully. Just wrap each bar individually in plastic wrap and place them all in a freezer-safe container or bag. When you’re ready to enjoy, thaw at room temperature for 30 minutes or so – still tasty and just the right chewy texture.
Reheating
While these bars are usually perfect straight from the fridge or freezer, you can warm them slightly for a softer texture. Microwave them for about 10-15 seconds or pop them in a warm oven for a few minutes. This melts the chocolate chips gently and brings out the peanut butter’s lusciousness even more.
FAQs
Can I use natural peanut butter for these Peanut Butter Bars?
Absolutely! Just keep in mind that natural peanut butter can be more oily and might slightly change the texture. Stir the peanut butter well before measuring, and if the mixture is too sticky, you can add a touch more oats.
Are these bars suitable for a gluten-free diet?
They can be, as long as you use certified gluten-free rolled oats. Always double-check the chocolate chips and any add-ins to ensure they’re gluten-free too.
Can I substitute peanut butter with another nut or seed butter?
Yes! Almond butter, sunflower seed butter, or cashew butter all work great and offer a different flavor profile while maintaining the chewy texture and richness these bars are known for.
What’s the best way to make the bars sweeter or more chocolatey?
Feel free to increase the honey a bit for added sweetness or toss in extra chocolate chips to make them extra decadent. You can even add a swirl of melted chocolate on top before chilling for a pretty finish.
Can I add other mix-ins to the bars?
Definitely! Think dried fruit, shredded coconut, chia seeds, or even a touch of cinnamon or vanilla extract for a personalized twist on the classic Peanut Butter Bars.
Final Thoughts
Once you make these Peanut Butter Bars, you’ll wonder how you ever lived without them. Their simplicity, versatility, and downright addictive taste make them a new favorite in my kitchen, and I hope they become one in yours too. They’re a perfect snack to have on hand for any time you need a quick bite packed with good, wholesome energy. Give them a try—you won’t regret it!
Print
Peanut Butter Bars Recipe
- Total Time: 1 hour 10 minutes
- Yield: 12 bars 1x
- Diet: Gluten Free
Description
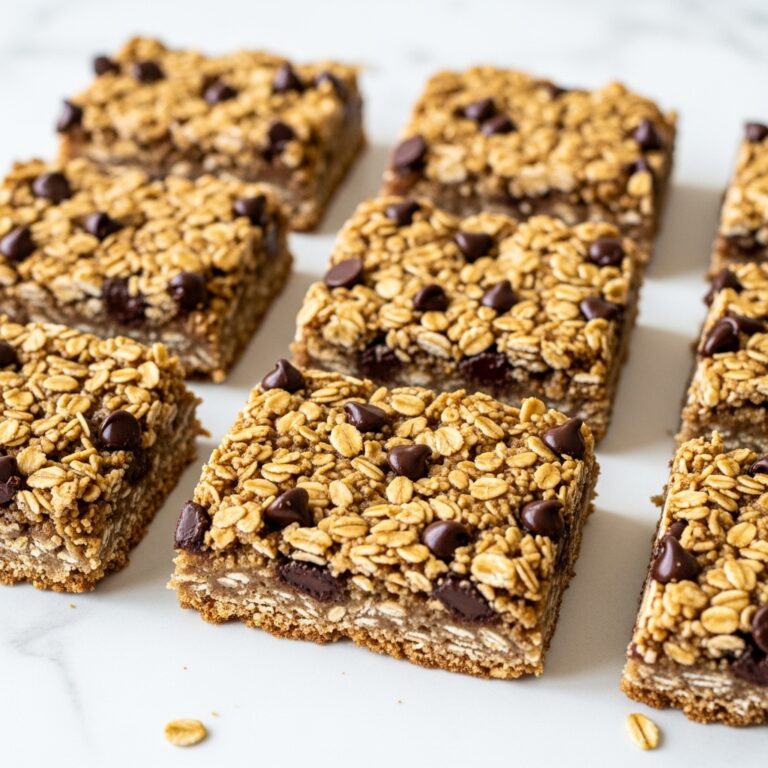
These no-bake Peanut Butter Bars combine creamy peanut butter, sweet honey, rolled oats, and chocolate chips into a delicious and easy-to-make snack. Perfect for a quick energy boost or a healthy treat, these bars offer a satisfying mix of flavors and textures with optional chopped nuts for added crunch.
Ingredients
Wet Ingredients
- 1 cup peanut butter
- 1/2 cup honey (adjust to taste for sweetness)
Dry Ingredients
- 1 1/2 cups rolled oats (optionally substitute some oats with crispy rice cereal for crunch)
- 1/2 cup chocolate chips
- 1/4 cup chopped nuts (optional)
- 1/4 teaspoon salt
Instructions
- Mix Peanut Butter and Honey: In a mixing bowl, combine the peanut butter and honey. Stir continuously until the mixture is smooth and fully blended.
- Add Dry Ingredients: Incorporate the rolled oats, chocolate chips, chopped nuts if using, and salt into the peanut butter and honey mixture. Mix thoroughly until all ingredients are evenly combined and coated.
- Prepare Baking Pan: Line a 9×9 inch baking pan with parchment paper to ensure easy removal of the bars later.
- Press Mixture into Pan: Firmly press the combined mixture into the lined baking pan and smooth the top with a spatula to create an even layer.
- Chill Bars: Place the pan in the refrigerator and let it chill for about 1 hour to allow the bars to set properly.
- Cut Bars: Once set, lift the mixture out of the pan using the parchment paper and cut into 12 equal squares for serving portions.
- Store: Keep any leftover bars in an airtight container in the refrigerator for up to one week to maintain freshness.
Notes
- For added texture, replace half of the oats with crispy rice cereal.
- Adjust honey quantity according to preferred sweetness level.
- Chopped nuts are optional but add a nice crunchy element.
- Keep bars refrigerated to prevent them from becoming too soft.
- These bars are naturally gluten-free if using certified gluten-free oats.
- Prep Time: 10 minutes
- Cook Time: 0 minutes
- Category: Snack
- Method: No-Bake
- Cuisine: American
Nutrition
- Serving Size: 1 bar (approx. 1/12 of recipe)
- Calories: 180
- Sugar: 12g
- Sodium: 70mg
- Fat: 11g
- Saturated Fat: 2g
- Unsaturated Fat: 8g
- Trans Fat: 0g
- Carbohydrates: 18g
- Fiber: 3g
- Protein: 5g
- Cholesterol: 0mg
Keywords: peanut butter bars, no bake bars, peanut butter snack, healthy snack, easy snack recipe, gluten free snacks

